在開發傳統web的frontend,一般是分開html, css, js三種文件來寫,但在React的世界裡,所有東西都存在於js檔當中。這些js檔主要都是圍繞Components來開發。以下介紹有關React Component的概念和實作。
本篇有些地方講述有關React的概念,對ReactJS熟悉的朋友可以跳過那部分
I. 建立第一個基本Component
Import
兩種方法import component:
import React, { Component } from 'react'import React from 'react',然後用React.Component
個人推薦[1]。注意即使只用到Component也要一併import React。
基本結構
import React, { Component } from 'react';
import { Text, View } from 'react-native';

class WhyReactNativeIsSoGreat extends Component {
  render() {
    return (
      <View>
        <Text>
          If you like React on the web, you'll like React Native.
        </Text>
        <Text>
          You just use native components like 'View' and 'Text',
          instead of web components like 'div' and 'span'.
        </Text>
      </View>
    );
  }
}
class是ES6的新功能,作用就是和其他語言的class相近,react native使用自家的Metro bundler
Render
- 每個Component都必須override
render()method render()裡面必須return一個Component- Component多數以JSX declare
render()只能return一個Component,如果要多於一個,需要用一個<View>來打包
JSX
JSX (Javascript XML)是Facebook提出的一種語法,希望在JS檔案中,也可以方便地建立UI Component。
React很大程度上依賴這種語法,例如上面的render()裡面return了一個以JSX寫成的Component。
Props passing
Parent可以把一些data以 props 的形式,pass到child component當中。
<CustomComponent data='Hello World'>
</CustomComponent>
很重要也一定會用到,下一篇會詳細談。
理解ES2015/ES6
如果沒有接觸過ES6版本的javascript的話可以先看看這裡理解一下新的語法(例如import, class, extends, () => {}),基本上React Native的開發經常會使用到ES6甚至ES7的功能。
II. 使用更多Components
Components是app的核心,react-native提供各種基本的Native UI Components,可以直接使用,也可以基於它們開發自己的Custom Components。
Native Components
Custom Components
例如在src/components/Button/index.js中:
import React, { Component } from 'react';
import { Button } from 'react-native';

export default class CustomButton extends Component {
  render() {
    return (
      <View style={{ backgroundColor: 'red'}}>
        <Button onPress={this.props.onPress} />
      </View>
    );
  }
};
然後在其他地方:
import CustomButton from '@components/Button';
...
<CustomButton onPress={this.onPressButton} />
III. Customizing Components
CSS in js
在React Native的世界裡,css只是一些JS objects。
Inline寫法
<View style={{backgroundColor: 'red'}}>
style={}是JSX寫法,{}裡面容許任何valid JS code- 有時只是string的話可以省略,例如:
title='hello'
- 有時只是string的話可以省略,例如:
{backgroundColor: 'red'}是一個js object
慣常做法
在Component檔裡面直接define一個styles object,例如以下例子:
import React, { Component } from 'react';
import { Button } from 'react-native';

export default class CustomButton extends Component {
  render() {
    return (
      <View style={styles.buttonWrapper}>
        <Button onPress={this.props.onPress} />
      </View>
    );
  }
};

const styles = {
  buttonWrapper: {
    backgroundColor: 'red'
  },
};
- 一般css會用
background-color,但所有react-native的style都是camelCase - 盡量使用
const,有時可以用let,永遠不要用var - backgroundColor可以用顏色名、Hex code等,官方Color list
- 官方View style props list
Flexbox Layout
React Native採用Flexbox為主常Layout主具,使用前應先理解Web上的flexbox如何運作:
- A Complete Guide to Flexbox | CSS-Tricks
- CSS Flexbox (Flexible Box) - W3Schools
- RN官方文檔 - Layout with Flexbox
大小settings
常用的:
flex:Real numbers, e.g. 1height/width:例如'100%',或者10(代表10 device pixels)minHeight/maxHeight/minWidth/maxWidth
排版settings
主要常用的:
flexDirection:column或者row,default是column(不同於web flexbox)justifyContentalignItems
以例子學習:
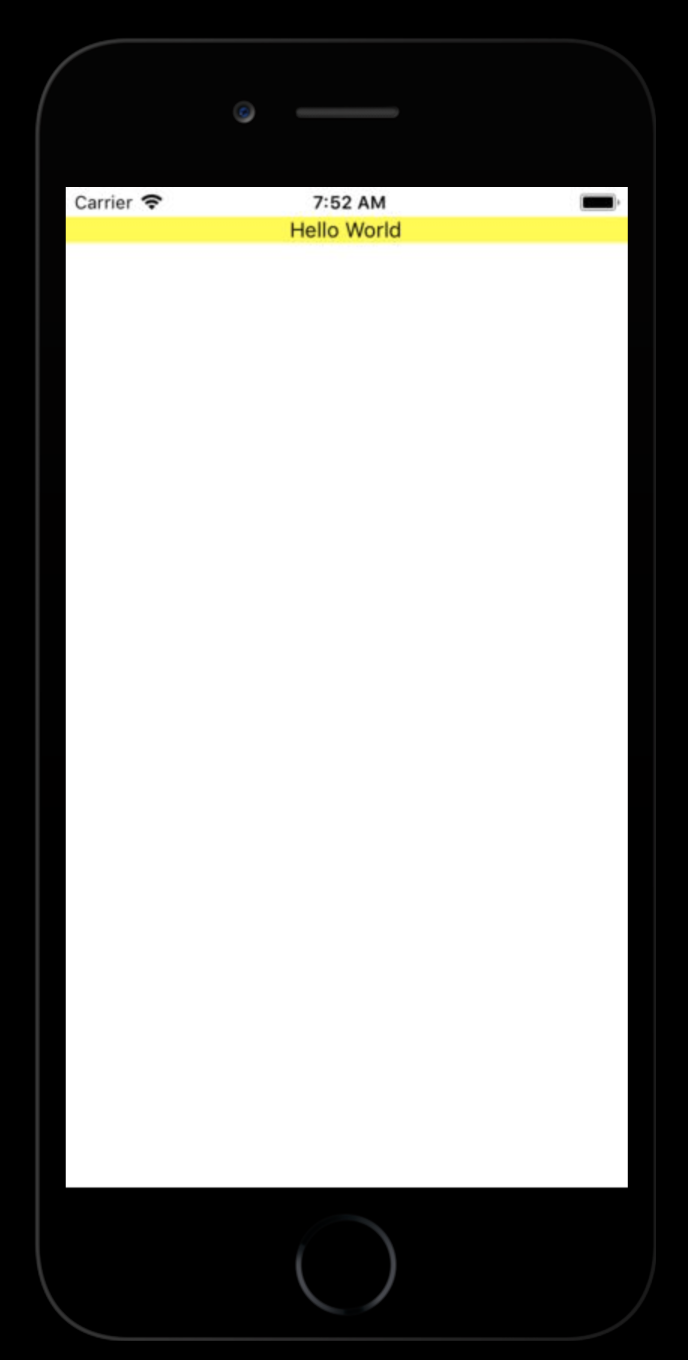
  return (
    <View style={styles.wrapper}>
      <Text>Hello World</Text>
    </View>
    )
...
const styles = {
  wrapper: {
    flexDirection: 'column',  // 其實這行可以不寫
    justifyContent: 'flex-start',
    alignItems: 'center',
  }
}
Expo snack:https://snack.expo.io/B18E8Kuaz
結果:
其他就自行發掘吧。
IV. 結語
這篇介紹了有關React Native Components的基本概念,現在這些Component只能render() UI,沒有甚麼功能。
日後會詳述Component中可以override的methods,使它們能做更多事,例如send request to server。